Thursday, 3 April 2014

Work in Progress[WIP] (Computer Applications)

Project 3 Final Product 

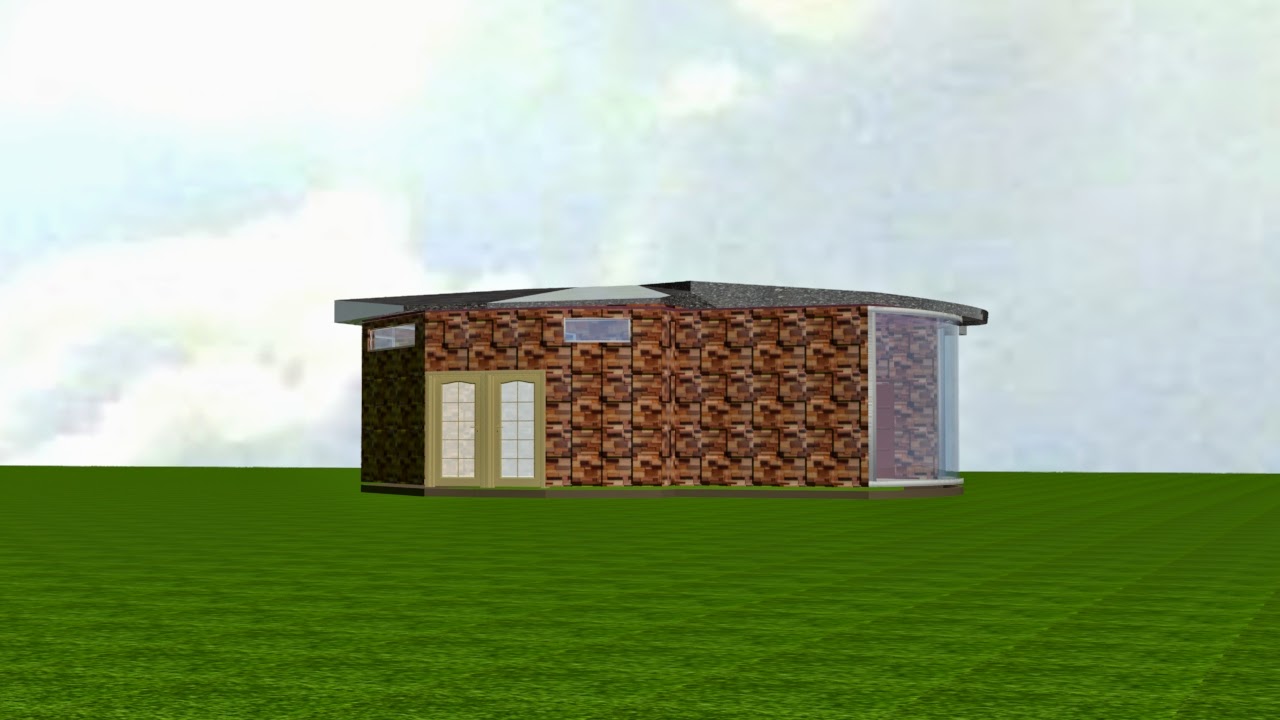
                               Project 3 : Animation of the Completed 3D Scene

Here you go, my final video of the retreat house:

Just in case, this is my link to access to my final video in Youtube :
http://www.youtube.com/watch?v=89bNa_cIZY0

*REMEMBER TO CHANGE THE QUALITY SETTINGS TO 1080p WHEN YOU ARE WATCHING TO ENSURE THAT IT IS IN A CLEAR MODE*  :)


WIP of Project 3 : A Maximum 90 Seconds Animation of the Completed 3D Scene

1.Since I have already render all the interiors at the previous project,I directly start with step of locating the camera.


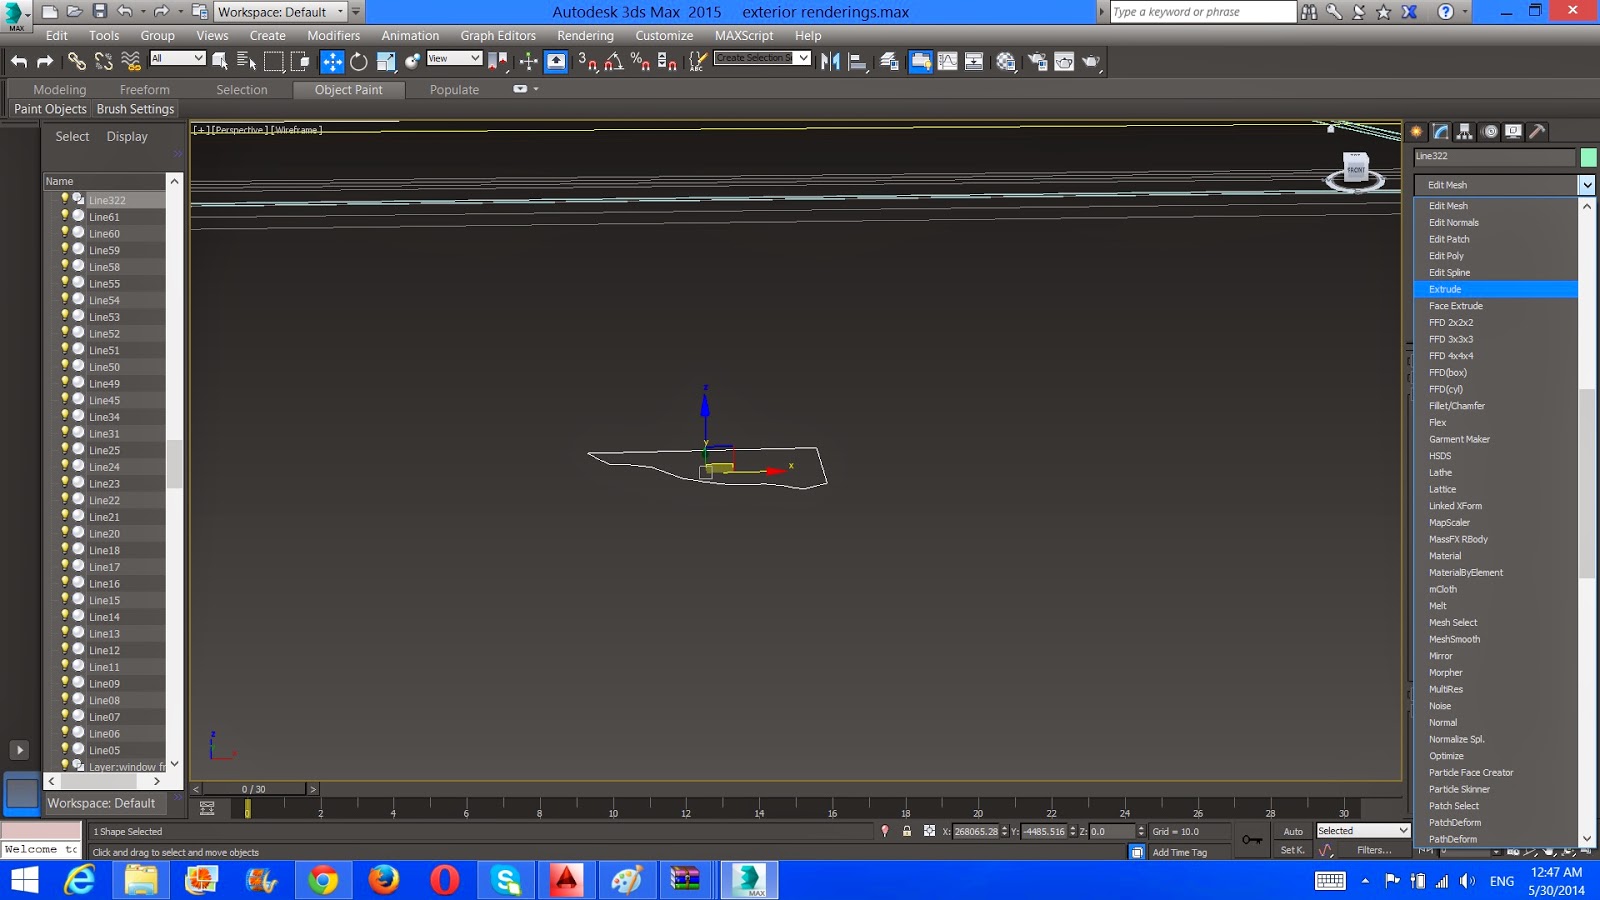
2.Adjusting the render setup of the exterior.


3.Test rendering 1 of the exterior.


4.Test rendering 2 of the exterior.


5.Setting time frame for the interior of the retreat house.


6.Test rendering 1 of the living room.


7.Test rendering 2 of the living room.


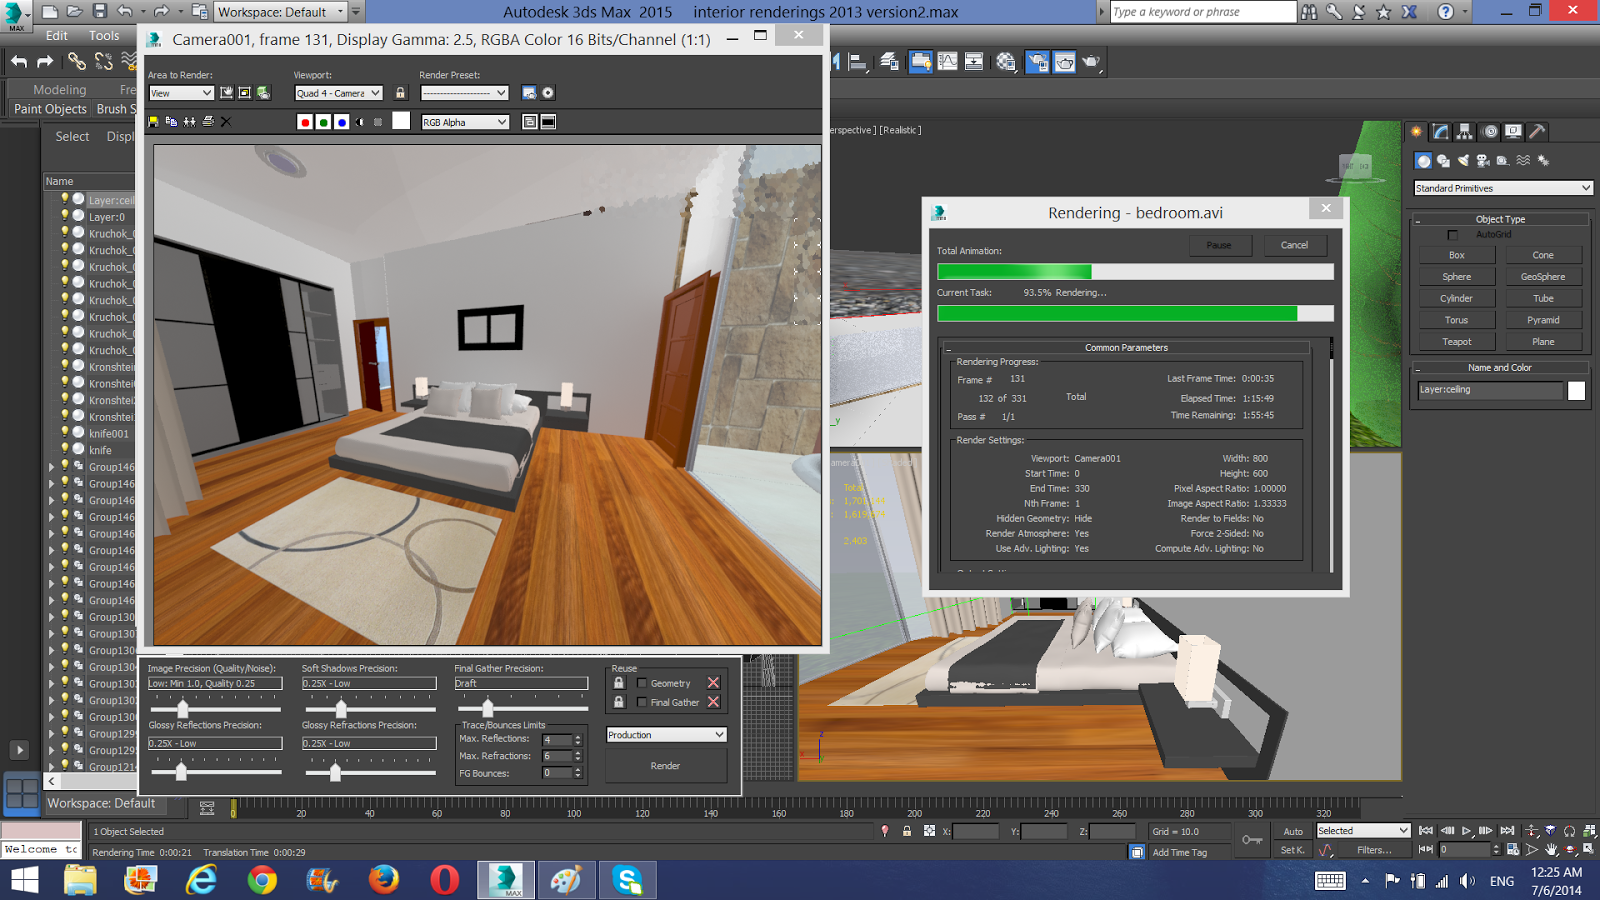
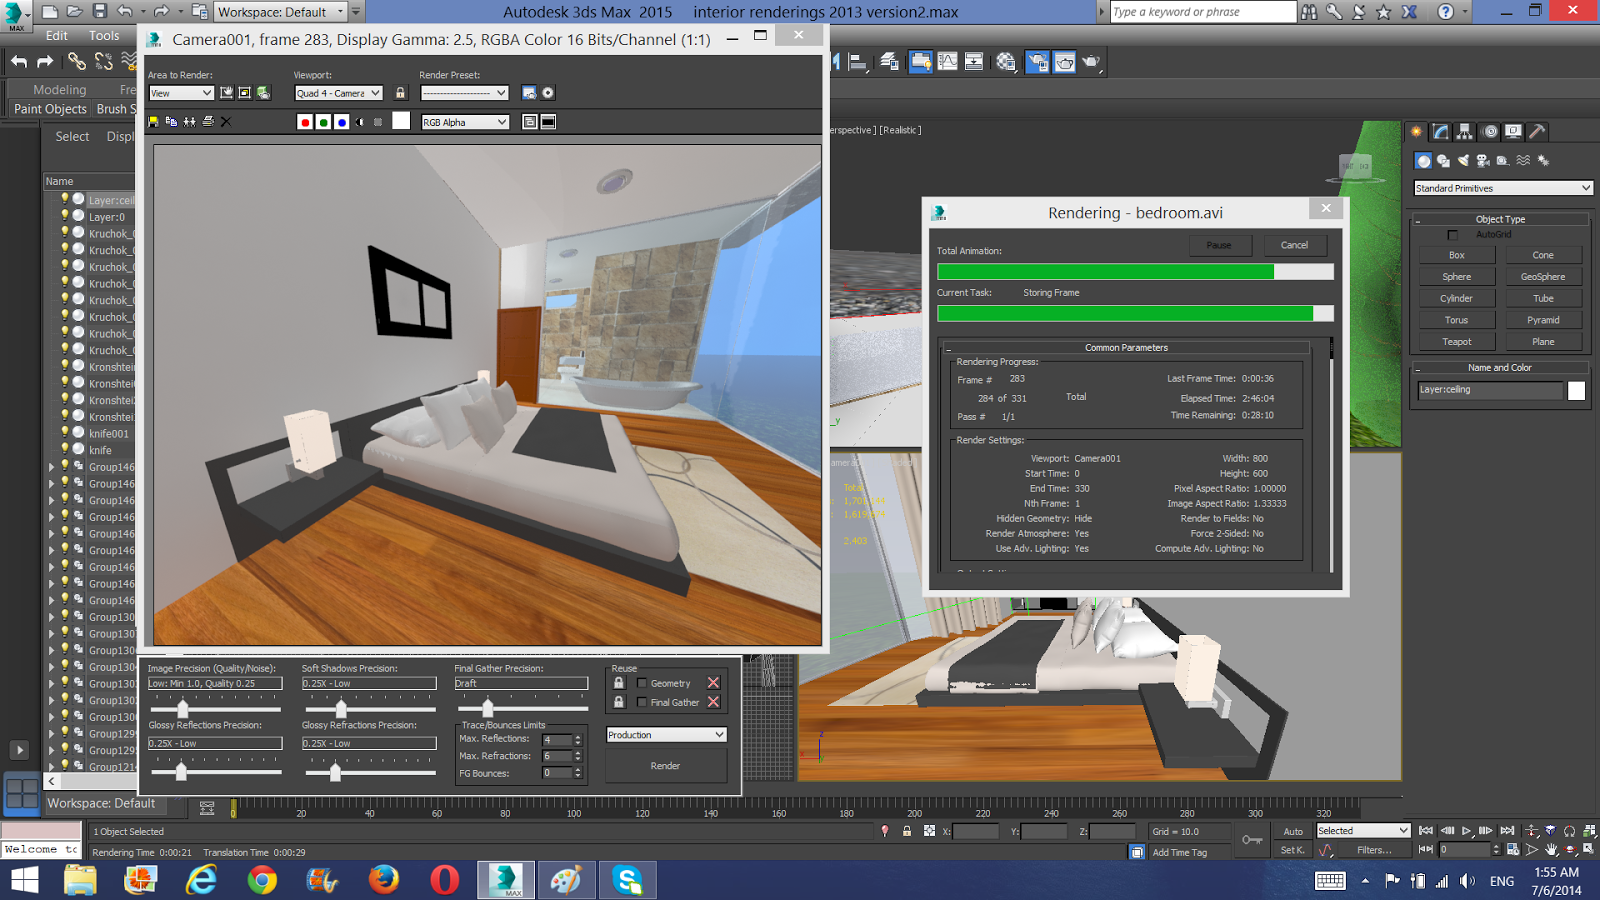
8.Test rendering 1 of the bedroom.

       9.Test rendering 2 of the bedroom.

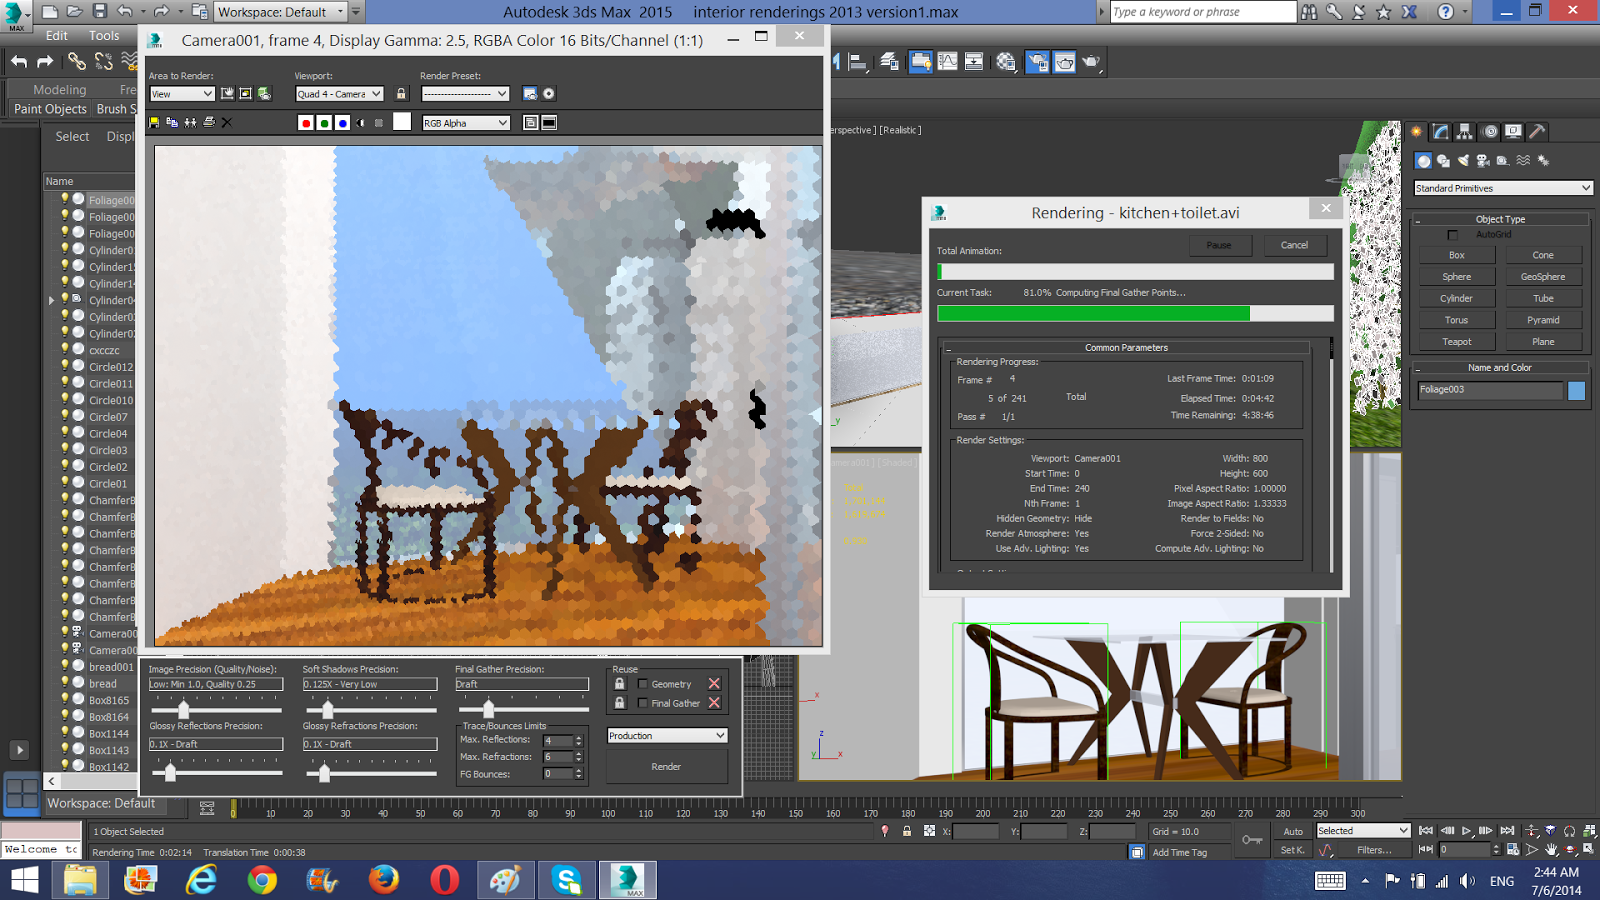
  10.Test rendering of the kitchen.


  11.Test rendering 1 of the outdoor garden which located in the middle of the retreat house.


 12.Test rendering 2 of the outdoor garden.


13.After done with the rendering, drag the test render video into video maker to do video editing.


14.Splitting video to make it into a slower motion.


15.After splitting, this part of video is successfully made into a slower motion from 3 seconds into 26 seconds showing the entire exterior of the retreat house.


16.Continue with the video editing part - specifying name of tutor.

Project 2(b) Final Products 

                Project 2(b) : Interior Renderings of the Building with Site Context 

View 1 : Bedroom view during sundown.
View 2 : Living room view during winter.


WIP of Project 2(b) : Still Rendering with Materials, Lights, Camera Views with Site Context

1.Start with the cad file(floor plan) to place the required furniture.
2.Example-To place a television cabinet, draw a rectangle first.
3.Rotate the rectangle.


4.Move it to the required position.


5.Television cabinet is placed at the living room.

6.Move the position of the bed.


7.Basically plan with furniture is done in Autocad.


8.Import the CAD file into 3ds Max.


9.Then,download the required furniture in archive3d.net.


10.Open the zip file and transfer the furniture into 3ds max.


11.Move the 3d model into the right position(which is already shown in CAD file).


12.Also,adjust the coffee table to its position.


13.Orientate the coffee table.


14.Draw a box to make sure the furniture is in its standard size.


15.Creating a mini waterfall to place it in the indoor garden.


16.Place plants in the indoor garden.


17.Set the position of the light.


18.Apply the required materials and color.


19.Setting color.


20.Test rendering.


21.After done with the rendering,import it into Photoshop to do further editing.


22.Setting the lens flare to make the lamp looks like it has been switched on.


Project 2(a) Final Products 
Project 2(a) : Exterior Renderings of the Building With Its Site Context

Eye-level view 1 : Front elevation of the building, at 2pm.

Eye-level view 2 : Back elevation of the building, at 4pm.


WIP of Project 2(a) : Still Rendering with Materials, Lights, Camera Views with Site Context

1.Group all  the same objects into a layer in Rhino.


2.All the layers are successfully been classified.


3.All the classified layers and the site contour.


4.Choosing the types of glass and its texture.


5.After deciding the materials to be used, import them into 3ds max. Then, starts the test rendering process. Image above is the test rendering #1.


6.Test rendering #2


7.Test rendering #3


8.Adjust the transparency of the glass using the UVW Map.


9.Always restore and maximize the viewport to make sure my work is in a perfect condition.

10. Keep on with the test rendering process to meet my requirements towards the final images.


11.Test rendering #4. After finish all the rendering processes, place the camera at the required view to capture it.


12.Captured view #1 in 3ds max.


13.Captured view #2 in 3ds max.


14.Transfer the captured image (jpeg file) into Photoshop to do the final editing work.


15.Choosing the required glass texture in Google to transfer into Photoshop.


16.Selecting the desired trees.


17.Selecting the proper human figure.


18.Place all the texture and objects in a proper coordination. Then, continue on with the steps of adjustment of colors and opacity, and also the placement of the suitable shadow lines. When all the editing work is done, finally save the  images into jpeg files. 


Project 1 Final Products 

Project 1 : Modelling Final Product

View 1

View 2
View 3

View 4

View 5


WIP of Project 1 : Modelling of  an Architectural Design 

1.Tracing outline of the plan in CAD.


2.Trimming the wall and glass partitions.


3.Creating window frame.


4.Press CO to copy the window frame in order to create the partitions of outdoor garden in the middle of this retreat house.


5.Trimming the distance between window and  window frame.


6.Press CO to copy the door to place it at another space so that all the doors will be accurate in size.


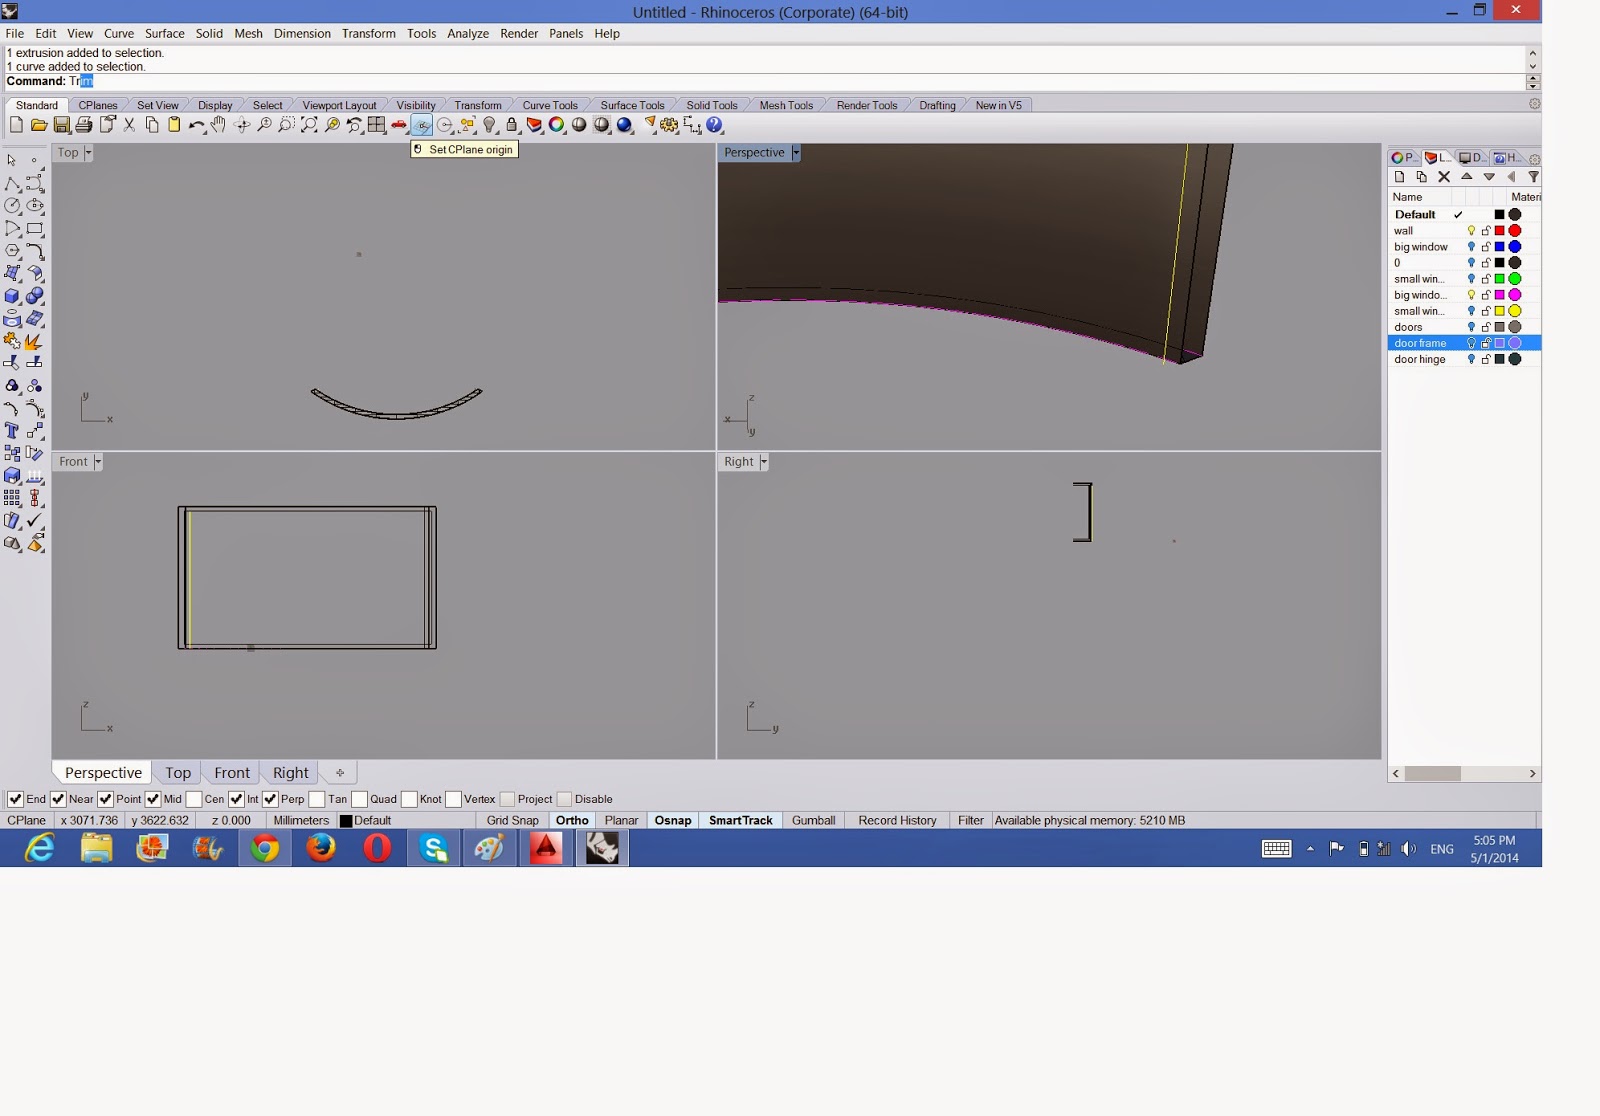
7.Press TR to trim the door hinge.


8.Creating layers.


9.Classify all the layers in different colors.


10.Grouping the layers.


11.Plan is done.


12.Base plan is also done.

13.Click IMPORT to send CAD file into Rhino programme.


14.Make sure everything is in correct units.


15.Importing floor plan into Rhino.


16.Also,import floor base plan into here and extrude it.


17.Floor base is extruded.


18.Maximize the perspectives viewport to do more editing.


19.Creating window frame.


20.Extending window frame.

21.Trimming window frame.


22.Extending glass partitions.


23.Constructing curved wall partitions.


24.Offsetting the curved window partitions to create a hole.


25.Trimming wall partitions.


26.Hide some of the features to make my work easier.


27.Intersection of window frame.


28.Indoor garden wall partitions is done.


Add caption
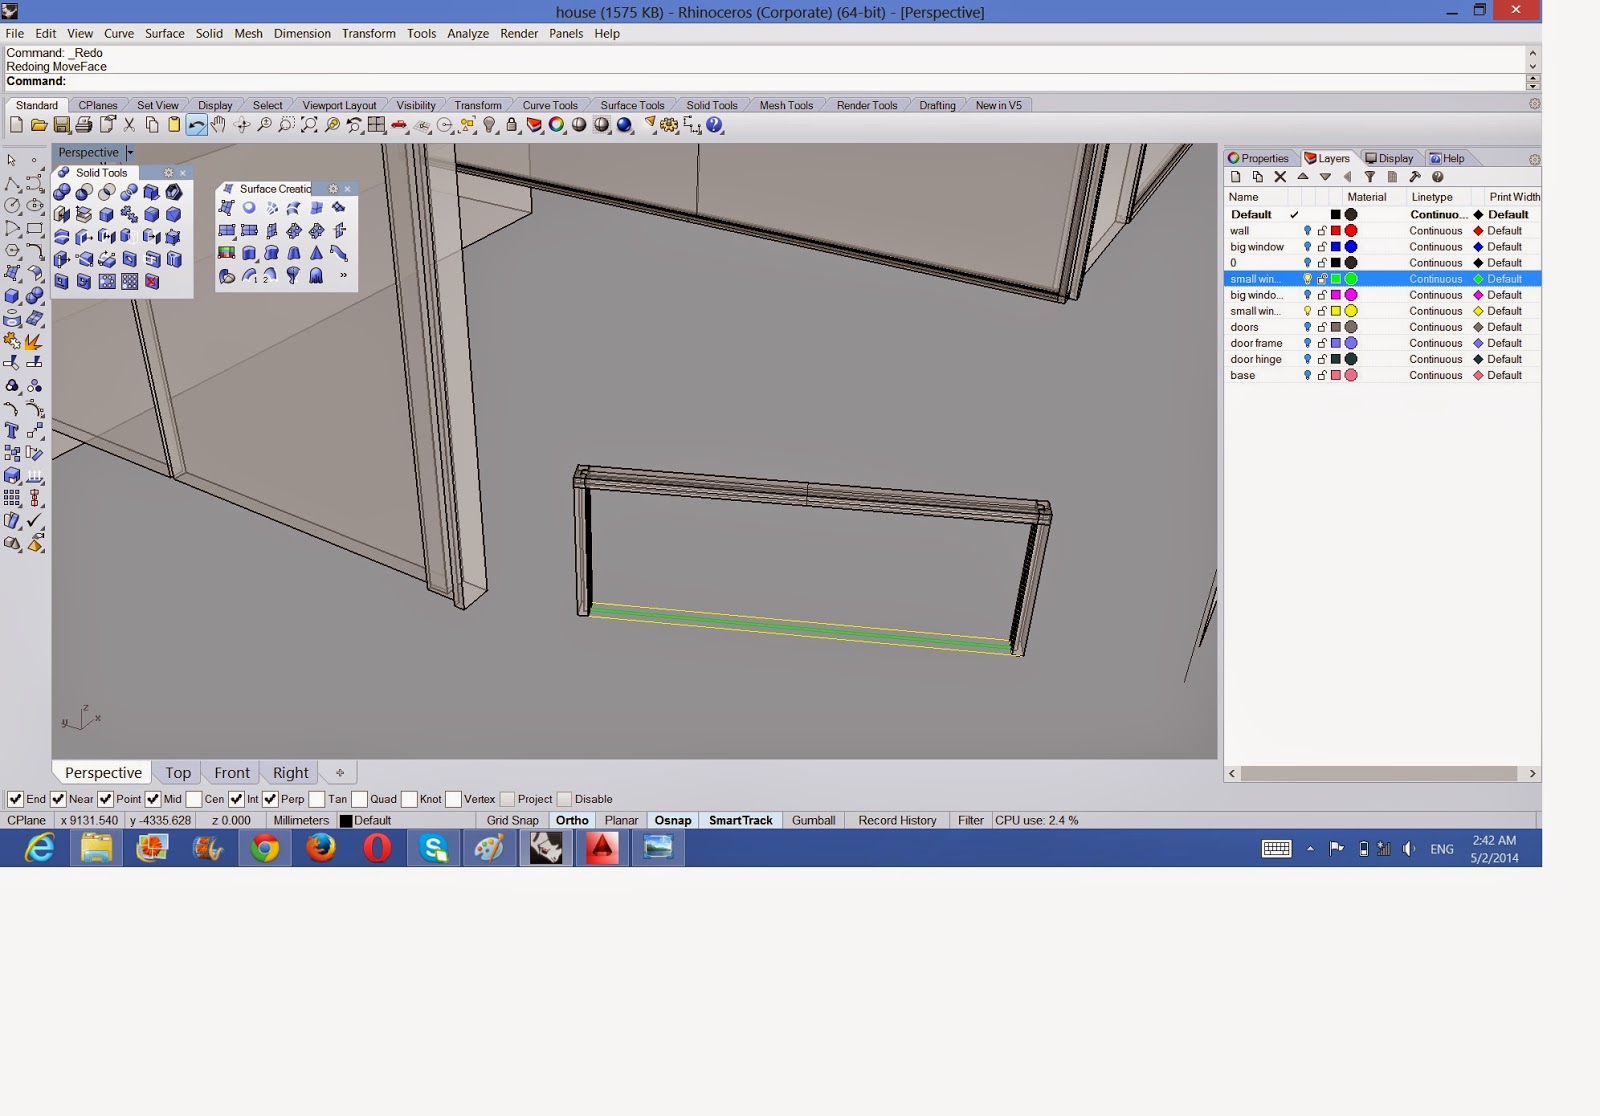
29.Constructing small windows which situated in between the wall.


30.Draw a rectangular to extrude the door frame.


31.Constructing door hinge.


32.Basically the complete retreat house with its contour is done.


33.Transfer the Rhino files into 3ds Max.


34.Change the setting into Arch&Design.

35.Choosing the materials and apply it on the retreat house.


36.Rendering is in the process. 

37.Choose any suitable angle to render it and capture its best view. 


38.Rendering and capturing view.


39.Rendering is done.


No comments:

Post a Comment